Why Faucet Cartridge Replacement Matters (Practical DIY & Project Guide)
If you’re looking to learn how to replace a faucet cartridge, you’re most likely dealing with a persistent drip, stiff handle operation, or inconsistent water mixing on your bathroom faucet. For standard bathroom sink fixtures, these issues almost always trace back to a faulty cartridge, rather than damage to the entire faucet body. This is a key point for both DIY users and project teams. Swapping out a cartridge is far more affordable, quicker, and less disruptive than replacing a full faucet—this is especially true for single-handle basin mixers with premium polished chrome finishes, where full fixture replacement brings unnecessary costs and installation hassle.
For on-site engineers, procurement specialists, and facility maintenance teams, the core consideration goes beyond simple repair steps. It’s about verifying whether the faucet is built for easy maintenance in the first place, whether compatible replacement cartridges are continuously available on the market, and if new parts perfectly match the faucet’s internal valve structure. In our years of handling OEM faucet projects, mismatched cartridge specifications are the top cause of on-site repair failures and delayed maintenance work.
Key Checks Before You Disassemble Any Parts
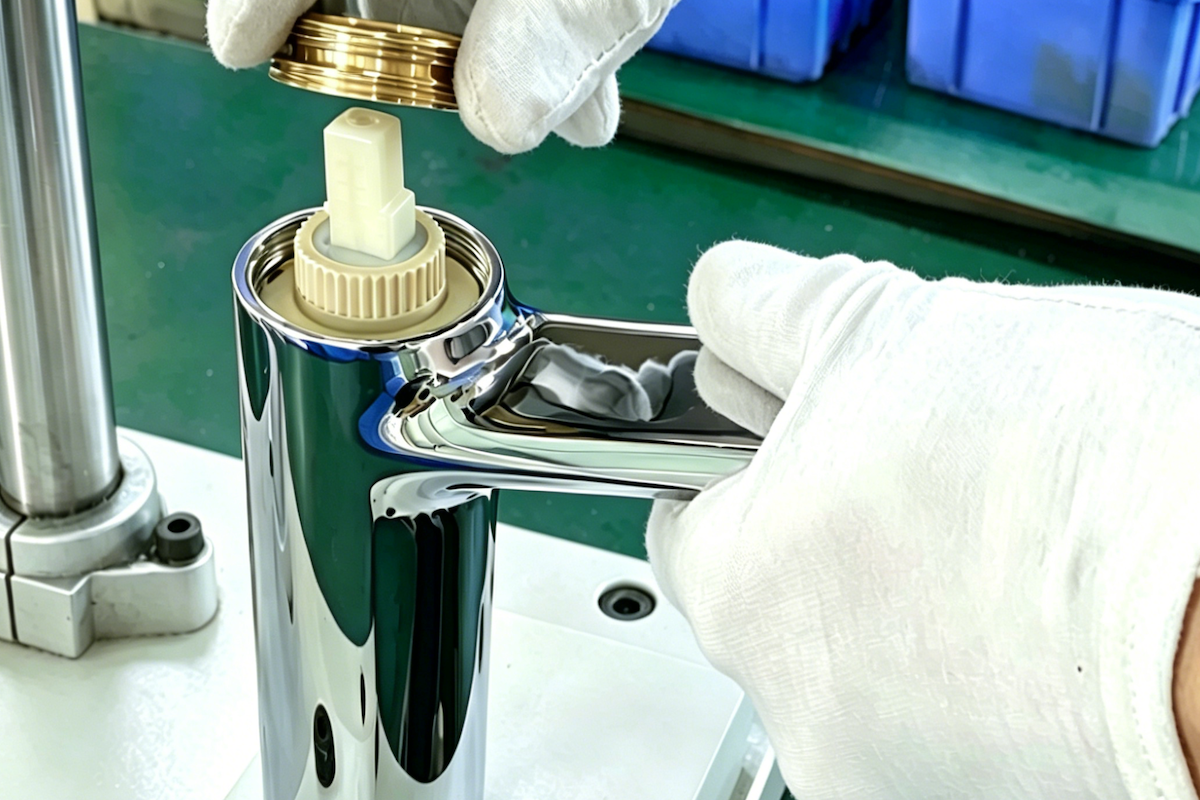
Most bathroom sink faucets look nearly identical from the outside, but faucet cartridges are absolutely not universal. A single-handle mixer faucet can be fitted with a ceramic disc cartridge, compression-style insert, or brand-specific proprietary valve structure. You can usually judge the disassembly and maintenance method from the faucet’s top structure: after removing the handle, you’ll see the exposed valve stem, paired with a fixing retaining ring or locking nut. Some models feature light-colored plastic or polymer fixing rings as part of the assembly structure—this is standard design, though the exact layout varies by faucet model and manufacturer.
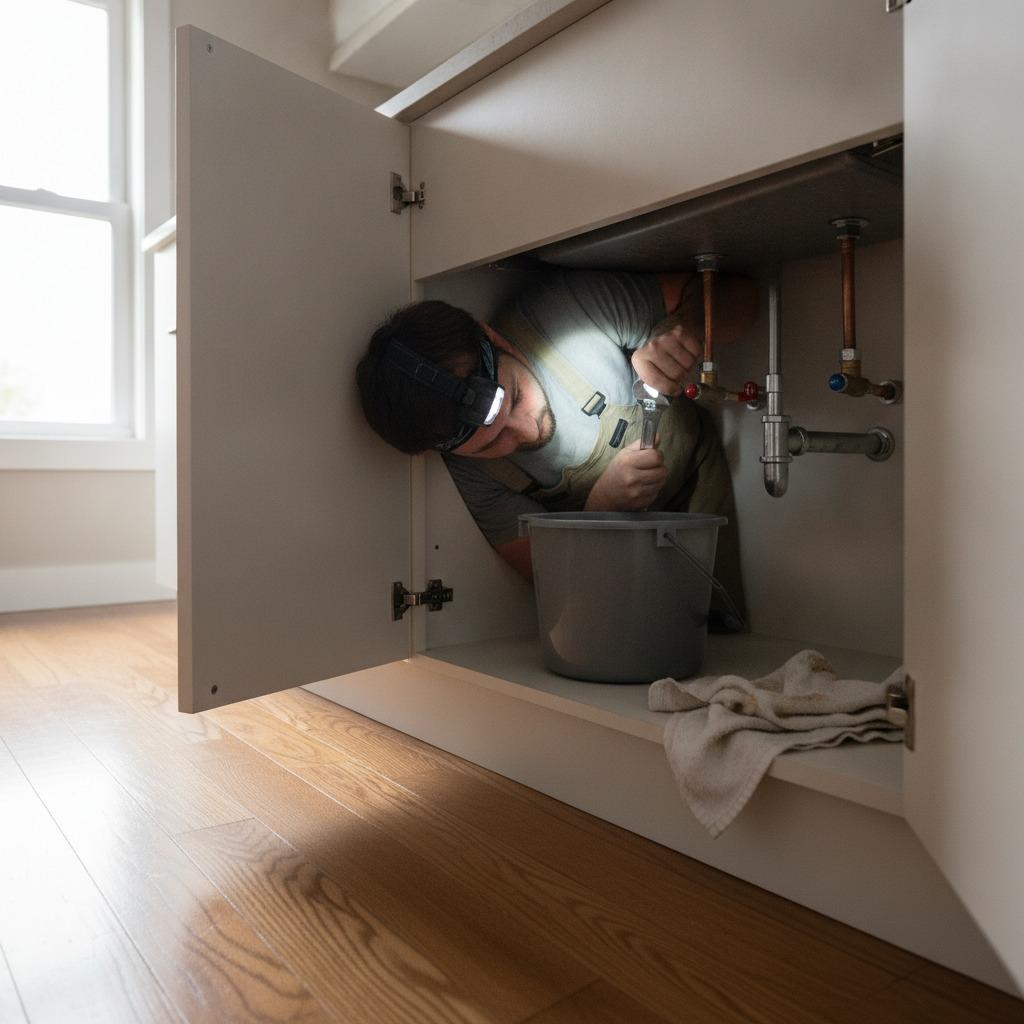
Before starting any work, shut off both hot and cold water supply valves under the sink, then turn on the faucet fully to release residual water pressure. Lay a towel in the sink and cover the drain opening. This may seem like basic common sense, but tiny screws and fixing clips drop down drain pipes extremely easily during repairs, leading to avoidable delays.
Step-by-Step Faucet Cartridge Replacement
1. Remove the faucet handle
Locate the decorative cover, hidden set screw, or locking fastener on the top, back, or bottom of the faucet handle. Remove the fastener and take off the handle, placing it in a clean, safe spot to avoid scratches or damage. If the faucet has been used for years, mineral scale buildup may lock the handle in place. Never pry hard on the chrome finish—apply steady, gentle pressure and take your time to avoid scratching or deforming the fixture surface.
2. Remove the trim cover to access the cartridge
Most faucets come with a protective trim sleeve or cover that conceals the internal valve assembly. Carefully remove this trim piece to expose the cartridge and its fixing components. Depending on the faucet design, you’ll see a threaded collar, fixed retaining clip, or toothed plastic locking ring. All OEM bathroom faucets follow a fixed disassembly sequence for these parts, so always disassemble step by step instead of forcing parts apart.
3. Extract the old cartridge
Before removing the old cartridge, take note of its installation orientation. Most cartridges have a fixed positioning mark, alignment tab, or notch that dictates its correct position inside the faucet body. If a retaining clip is fitted, remove it first; if there’s a threaded retaining nut, loosen it slowly and keep the part clean for reuse. Pull the cartridge out steadily along the stem’s vertical axis. Gentle side-to-side rocking is acceptable to loosen scale buildup, but avoid violent twisting. Forcing the cartridge out will scratch the faucet’s inner valve body, turning a simple routine repair into a costly full faucet replacement.
4. Inspect and clean the faucet inner cavity
With the old cartridge removed, thoroughly check the faucet body interior for hard water scale, sediment debris, or worn/damaged sealing surfaces. Wipe the inner cavity clean with a soft lint-free cloth. For heavy mineral buildup, use a mild, material-safe descaling solution compatible with chrome and plated faucet surfaces. Never use abrasive scouring pads or harsh tools, which will damage the faucet finish and scratch internal sealing surfaces. A clean inner cavity ensures the new cartridge forms a complete watertight seal and prevents premature leakage issues.
5. Install the new cartridge and reassemble the faucet
Fit the new cartridge into the faucet body following the exact orientation of the original part. If the cartridge is equipped with O-rings or rubber sealing gaskets, a tiny amount of food-grade silicone plumber’s grease can smooth installation—only apply grease where the product design allows. Reinstall the retaining parts, trim cover, and handle in reverse disassembly order. Once fully assembled, slowly turn the water supply valves back on. Test for leaks at the spout, handle base, and faucet body connection, and verify the hot and cold water mixing function works smoothly if applicable.
Common Time-Wasting Repair Mistakes to Avoid
The biggest mistake users and new maintenance staff make is assuming similarly sized faucets share universal cartridges. This is not the case at all. Stem shape, rotation angle range, internal sealing layout, and fixing methods all vary by model and manufacturer. Ordering replacement parts based solely on visual appearance is another frequent error. Two faucets with identical polished chrome exteriors can have completely different internal structures, and a visually similar cartridge will fail to seal or fit properly.
Another key reminder: if your faucet handle feels loose due to worn stem splines, replacing the cartridge alone will not fully fix the problem. Likewise, if the faucet body is corroded or internal threads are damaged, a new cartridge can only provide temporary relief, and leaks will reoccur quickly. For aging fixtures, it’s more cost-effective to evaluate full faucet replacement instead of repeated temporary repairs.
Key Tips for OEM Buyers & Maintenance Teams
As a professional faucet manufacturer serving global OEM and renovation projects, we always emphasize that maintainability should be factored into product design from the start, rather than fixing issues after customer complaints arise. Faucets with detachable, easy-replaceable cartridges simplify on-site maintenance and greatly reduce after-sales warranty disputes.
For OEM custom and private-label faucet projects, we recommend clearly documenting cartridge model ranges, fixing methods, and handle matching structures in product specifications. This eliminates guesswork for on-site maintenance technicians. This is especially critical for hotel renovations, apartment project batches, and bulk custom fixture orders.
If you adopt proprietary cartridge designs for your products, be sure to archive corresponding part numbers and product exploded views with shipment records. When updating faucet designs, confirm that new internal valve structures are compatible with old replacement parts. Minor changes in stem length or locking ring shape will render replacement parts unusable, even if the faucet’s exterior looks exactly the same.

Quick Reference FAQ
Can I replace just the cartridge and keep the original faucet?
Yes, in most cases. As long as the faucet body, handle, and fixing components are intact and undamaged, and you use a fully compatible cartridge, targeted replacement works perfectly.
Do I need to buy the exact original cartridge part?
Absolutely. For OEM faucets, visual similarity is never enough. The replacement cartridge must fully match the original internal valve structure to ensure proper sealing and operation.
Why does my faucet still drip after installing a new cartridge?
Common causes include incorrect cartridge orientation, improperly tightened retaining parts, residual debris in the sealing cavity, or unstable water pressure. If the faucet body is worn, cracked, or corroded, the cartridge will not fix the fundamental leakage issue.
When Full Faucet Replacement Is the Better Option
For single-handle basin mixers used in residential homes, hotels, and commercial restrooms, the cartridge is always the first component to wear out. Replacing this small wearable part is a simple, low-cost fix that can restore a faulty faucet to full working condition, avoiding unnecessary full fixture replacement.
This also serves as a key reference for product designers and procurement teams: prioritize maintainability over just exterior aesthetics when sourcing and designing faucets. Easy-to-repair internal structures reduce long-term maintenance costs and improve product reliability for end users.
If you’re managing OEM or private-label faucet projects, sorting out cartridge matching, internal part identification, and maintainable product designs at the pre-production stage will eliminate most on-site maintenance headaches in the future.